Why Each Step Matters in a Professional 7-Step Floor Coating Installation Process
If you want a long-lasting, great-looking garage or shop floor, the details matter. A professional 7-step epoxy floor coating process builds strength and beauty one stage at a time. If you are comparing options, start by reviewing epoxy floor coating basics and how each step prevents common failures like peeling, hot tire pickup, and discoloration.
What "Professional" Really Means For Epoxy Floor Coating
Professional means measured, verified, and repeatable. It means the crew does not skip testing or surface prep and does not try to cover flaws with thicker paint. Each step in a proven system solves a risk before the next layer goes down. The result is a floor that cures correctly, bonds tightly, and keeps its color and gloss through seasons of use.
Step 1: Moisture Testing Protects Against Peeling
Concrete looks solid, but it can hold and release water vapor. Moisture moving up through the slab can push on the coating from below and cause bubbles, blisters, or delamination. Pros begin with calcium chloride or in-slab relative humidity testing to confirm the slab is within the coating's limits. If readings are high, the plan may include extra drying time or a moisture-mitigating primer so the system can perform as designed.
- Makes sure the coating bonds to the concrete and not to a thin film of moisture.
- Prevents blisters, cloudy spots, and premature peeling.
Moisture testing is non-negotiable if you want a floor that lasts through rainy seasons and humid summers.
Step 2: Concrete Hardness Verification Sets Expectations
Not all slabs are the same. Older drive-in garage slabs can be softer or dustier than newer interiors. Installers check hardness with a scratch test kit so they can choose the right grinding diamonds and primers. This step protects against over-grinding a soft slab or under-prepping a hard, power-troweled surface. Correct profiling and primer choice match the floor's actual condition, not a guess.
Step 3: Professional Diamond Grinding Creates A Bond-Ready Profile
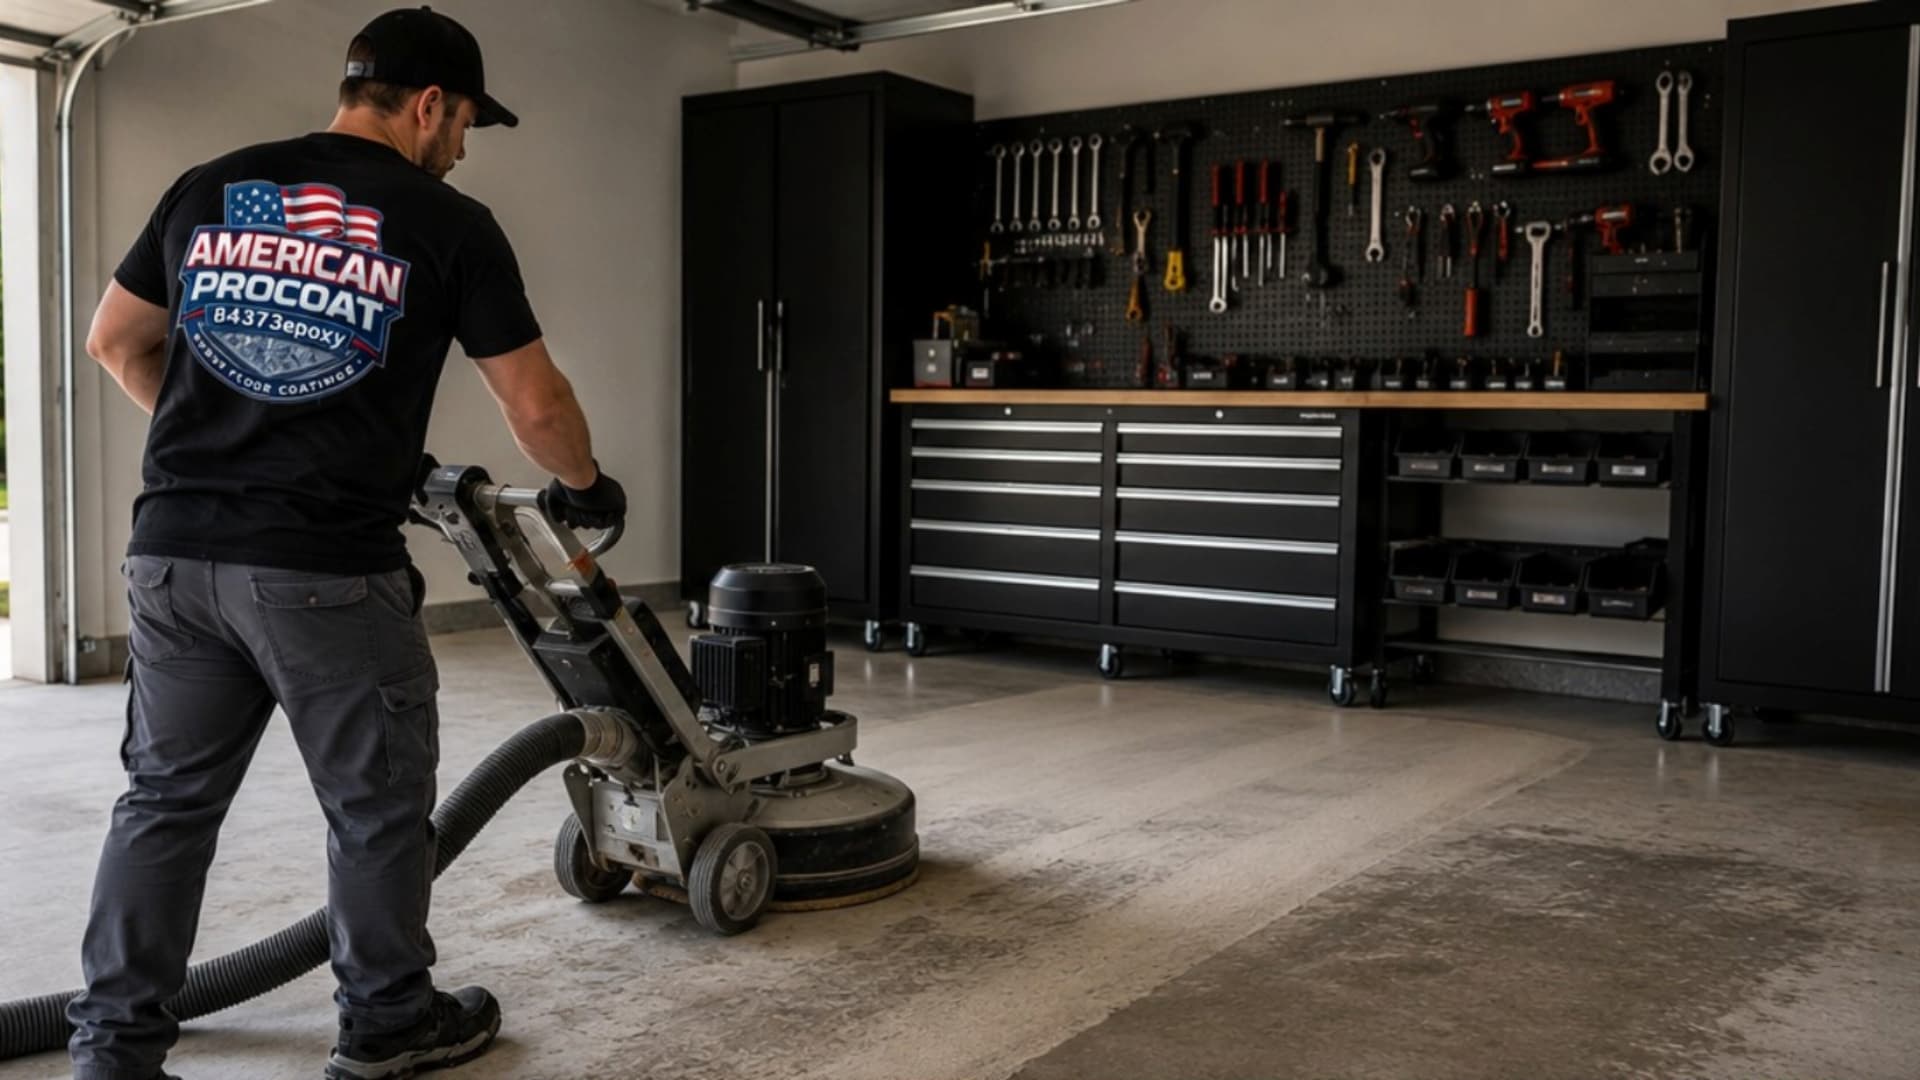
Coatings need a texture they can grab. Mechanical diamond grinding opens the pores of the concrete, removes contaminants, and creates a clean, even surface profile. This profile gives the basecoat a larger contact area, improving adhesion far beyond what simple washing can do. It also evens out highs and lows, so flakes lay flatter, and the final topcoat looks smooth and consistent.
Skip acid etching on residential slabs. It is inconsistent, leaves residue, and can trap moisture or salts in the surface. Diamond grinding is predictable, clean, and repeatable.
Step 4: Crack And Surface Repair Strengthens The Slab
Cracks, pitting, pop-outs, and spalls must be repaired before coating. Installers chase and clean cracks, then fill them with high-strength materials that move with the slab. Pits and surface voids get rebuilt so flakes and topcoat do not telegraph flaws. This step restores structural continuity, improves appearance, and prevents defects from showing through the new finish.
Step 5: Premium Basecoat Application Builds The Foundation
The basecoat wets into the prepared concrete to form the chemical and mechanical bond that holds the system together. Trained installers control coverage rate, temperature, and working time so the material cures evenly. A quality basecoat levels small variations, locks repairs in place, and sets the stage for full flake broadcast without bald spots.
Step 6: Decorative Flake Broadcasting Delivers Beauty And Grip
Full broadcast means 100 percent coverage with decorative vinyl flakes. This creates a visually consistent floor that hides seams and adds texture for traction. Full coverage also increases film build and impact resistance. The color blend you choose can brighten a dark garage, hide dust, and make small spills easier to spot for cleanup.
- Uniform color that helps mask dirt and light scuffs.
- Slip-resistant texture that feels secure underfoot.
Step 7: High-Performance Polyaspartic Topcoat Seals In Durability
A UV-stable polyaspartic topcoat locks flakes in place and protects against stains, chemicals, road salts, and hot tire pickup. It resists yellowing in sunlight and cures fast, which reduces downtime in busy homes. This final layer is your shield against abrasion and helps the floor clean up easily with simple sweeping and mild detergent.
A UV-stable topcoat protects color and gloss so the floor looks newer for longer, even near sunny garage doors and shop windows.
Local tip: Garages see big swings in temperature and humidity through the year. Schedule installations when the space can be kept closed to windblown dust, and plan for proper curing time before parking to lock in a clean, lasting finish.
How The 7 Steps Work Together Day To Day
These steps do more than pass a checklist. They manage the real forces your floor sees every week: wet car tires, winter deicers, summer heat, and dropped tools. Moisture control and a mechanical profile anchor the coating. Repairs stop flaws from showing through. A full flake layer absorbs impacts and hides scuffs. The polyaspartic topcoat seals the system so spills wipe away and the color stays bright.
Homeowners tell us they notice the difference when cleaning. Dust does not cling to micro pits. Oil drips sit on the surface instead of soaking in. Road salt from winter storms rinses away without leaving a chalky ring. That is the stack of benefits you get only when every step is done right.
What Can Go Wrong When Steps Are Skipped
Shortcuts often show up months later. Skipping moisture testing risks bubbles after a rainy week. Light prep or acid etching can leave a slick surface that the basecoat cannot grip, so the coating peels under hot tires. Rushed or thin topcoats scratch faster and allow stains to set in. The fastest jobs may look fine on day one, but they struggle through seasonal changes and regular use.
By contrast, a measured process avoids rework. It preserves your concrete, protects the finish, and keeps the floor easy to maintain. That is why professional crews detail their steps before they start and then document each stage as they go.
Why This System Suits Busy Homes And Shops
A full-broadcast flake system with a polyaspartic topcoat balances looks and longevity. It handles daily parking, home projects, and weekend hobbies. The texture helps with traction when rain or snow follows the car into the garage. The UV stability keeps colors true in bright spaces. Most importantly, the system can be cleaned and refreshed without special chemicals or tools.
Maintenance That Protects Your Investment
Good maintenance is simple because the surface is sealed. Sweep grit that acts like sandpaper. Use a soft mop with a pH-neutral cleaner for routine washdowns. Place a small mat where tires rest to catch the first drops of water and salt after winter driving. Avoid dragging sharp metal across the floor to keep the topcoat looking clear and smooth.
Why Each Step Matters To Your Warranty And Peace Of Mind
When installers follow a documented 7-step process, it protects your warranty because the system is used within its tested limits. Moisture, hardness, and profile are all controlled. Repairs are completed with materials compatible with the coating chemistry. The finish is then locked under a UV-stable topcoat that resists common garage and shop hazards. Together, these choices reduce callbacks and give you confidence that the floor will look great next year and the year after.
Choosing A Team You Can Trust
Ask any provider to describe their process in detail. Look for clear answers about moisture testing, diamond grinding, crack repair materials, basecoat specs, full flake coverage, and the exact topcoat they use. Request photos of recent projects that show close-ups of prep and repairs, not just wide shots after cleanup. A team that shows its prep work is usually the team that cares about results.
It also helps to confirm scheduling and curing conditions. Good crews plan around weather, ventilation, and temperature so the coating cures as intended. They communicate when you can walk on the floor and when vehicles can return, based on the products actually used, not a one-size-fits-all timeline.
Recap: The Seven Steps And What They Prevent
- Moisture testing: prevents bubbles, blisters, and peeling.
- Concrete hardness verification: ensures correct prep and primer.
- Diamond grinding: creates a reliable bonding profile.
- Crack and surface repair: stops defects from telegraphing.
- Premium basecoat: forms a strong, even foundation.
- Full flake broadcast: adds thickness, traction, and uniform color.
- High-performance polyaspartic topcoat: resists UV, chemicals, and abrasion.
Your Next Step
Ready for a seamless epoxy floor coating installed right the first time? Contact American ProCoat LLC today. For quick answers or to schedule an on-site assessment, call 843-733-7699. If you are just starting your research, you can also learn more about our approach on the home page and explore photos of recent projects to see finish options that fit your style.
Call Us
Connect With Us
Leave a Review

Bringing Premium Floor Coatings to Charleston-Area Properties
American ProCoat LLC delivers high-quality epoxy floor coating options to residential and commercial properties throughout the Charleston region, combining premium materials with professional installation for durable, attractive results. We proudly serve property owners in the following communities and surrounding areas:
- Charleston, SC
- Daniel Island, SC
- Goose Creek, SC
- Hanahan, SC
- Moncks Corner, SC
- Mount Pleasant, SC
- North Charleston, SC
- Summerville, SC
- West Ashley, SC
Connect With Us!
American ProCoat LLC is ready to help you find the right floor coating solution for your home or business. Whether you're upgrading a garage, improving a commercial space, or protecting concrete floors, our team is here to answer your questions and discuss your project.
Ready to get started? Call or fill out our contact form to request more information and discuss your flooring needs. We look forward to helping you achieve a durable, professional finish built to last.